Deploying react app on Vercel
Vercel’s Frontend Cloud provides the developer experience and infrastructure to build, scale, and secure a faster, more personalized web. Vercel is the easiest platform to deploy the website. By connecting the GitHub repository in the vercel you can simply deploy the master or main branch to the vercel domains.
What does “deploy” mean in a react world?
React is an overlay for native JS. In concrete terms, it’s a JS library, a set of functions that will simplify our lives. In doing so, developers will be working with a multitude of files during the development phase.
Each time this phase is completed, the code enters the production phase, i.e. ready to be put online. React will then build our site. It will reduce all our files to optimized HTML, CSS and JS.
All you have to do is retrieve these files and put them online, as in the previous workshop: Deploy 01 - Vanilla. Right?
Of course, that would be too easy. There are bound to be a few bugs when it comes to importing images or links, for example. Yes, DevOps is a hard work.
Preparation
Create a repository on GitHub for your project or fork the repository on your own account : team repository require pro account to be deployed on Vercel.
With Vite, no time to waste…
Deployments start with code written in one of the over 35 frameworks supported by Vercel including Vite ! Deployments can be created through the Vercel CLI or by pushing code to your git repository. The Vercel Git integration automatically listens for your commit and triggers a new deployment.
Vercel deploy config
Vercel is a platform for developers that provides the tools, workflows, and infrastructure you need to build and deploy your web apps faster, without the need for additional configuration.
Create a account
To get started, create an account with Vercel.

Once you create an account, you can choose to authenticate either with a Git provider or by using an email.
Vercel configuration
React Router can sometimes encounter issues when deployed to Vercel due to the way Vercel handles serverless functions and routing.
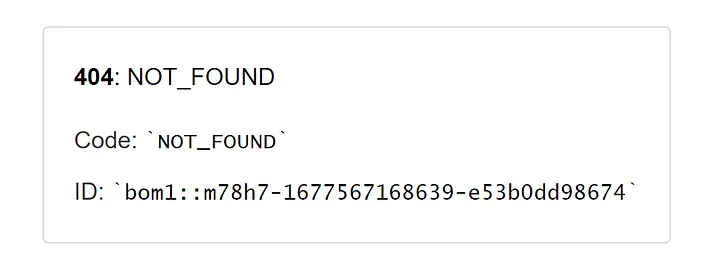
vercel.json
One common issue is that refreshing the page or navigating directly to a URL within the application can result in a 404 error. This is because Vercel doesn’t know how to handle client-side routing by default, and the server returns a 404 error instead of serving the index.html file that React Router needs to handle the request.
To fix this issue, you can set up rewrite rules creating the vercel.json file in the root of your react app (/client) to redirect all requests to the index.html file :
{
  "rewrites": [
    {
      "source": "/(.*)",
      "destination": "/index.html"
    }
  ]
}
When you use client-side routing in a single-page application, all of the routing is handled on the client side rather than the server side. That means when you navigate to a specific URL within your application, the server needs to return the index.html file so that the client-side routing can take over and display the correct content.
Note that this vercel.json file is specific to Vercel, which is a cloud platform for serverless deployment. Other server environments may use different configuration files or require different settings to handle client-side routing and 404 errors.
Import a existing project
Your existing project can be any web project that outputs static HTML content (such as a website that contains HTML, CSS, and JavaScript). When you use any of Vercel’s supported frameworks, we’ll automatically detect and set the optimal build and deployment configurations for your framework.
Connect to your git provider
On the New Project page, under the Import Git Repository section, select the Git provider that you would like to import your project from.
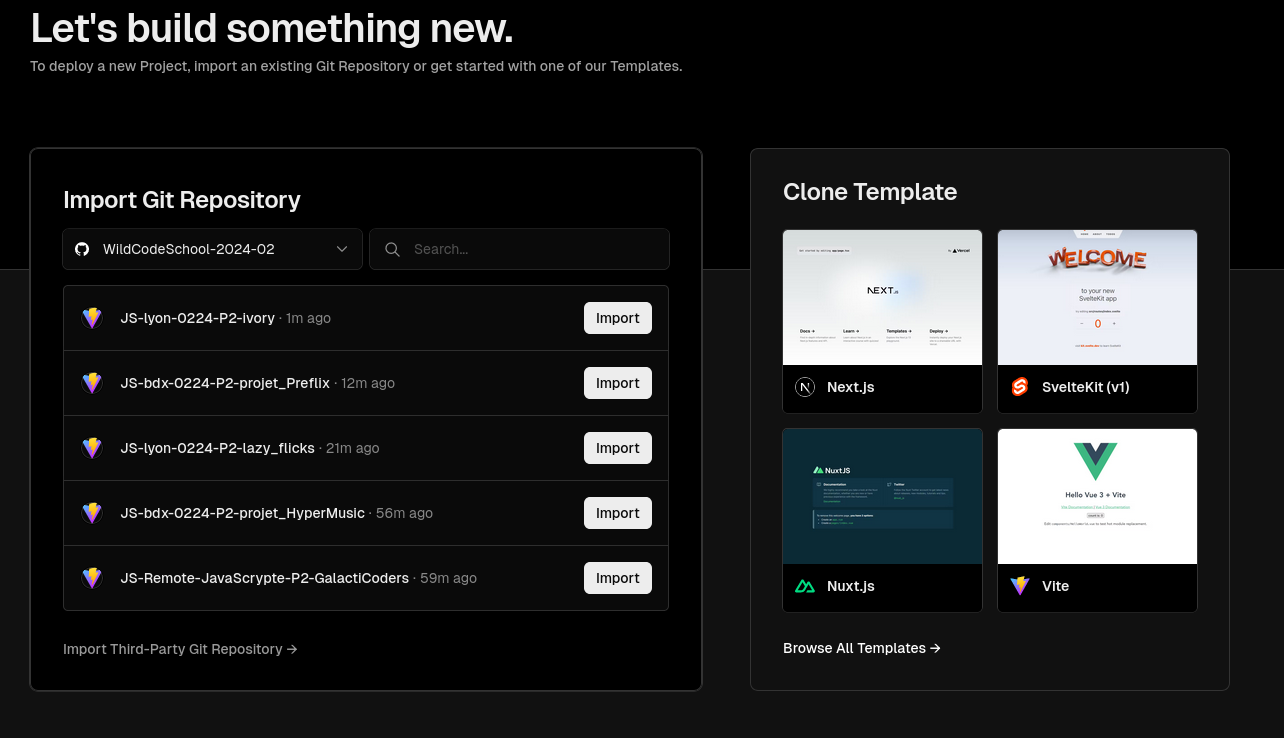
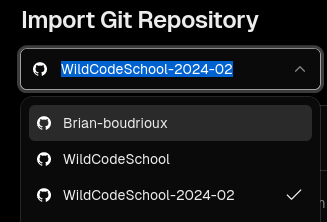
Don’t forget to fork the repository from your organisation, team repository require pro account on Vercel.
Import your repository
Find the repository in the list that you would like to import and select Import.
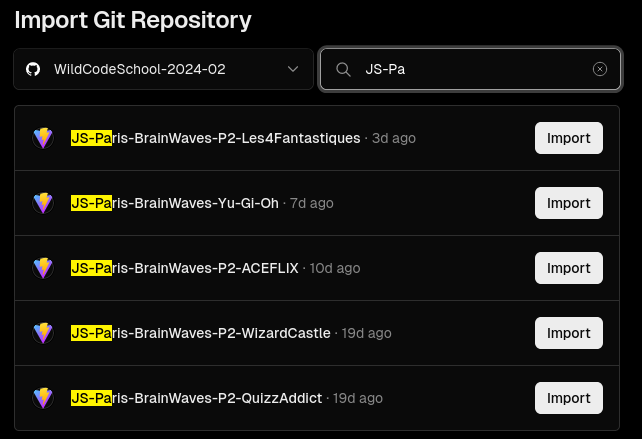
Configure project
Vercel will automatically detect the framework and any necessary build settings. However, you can also configure the Project settings at this point including the build and output settings and Environment Variables.
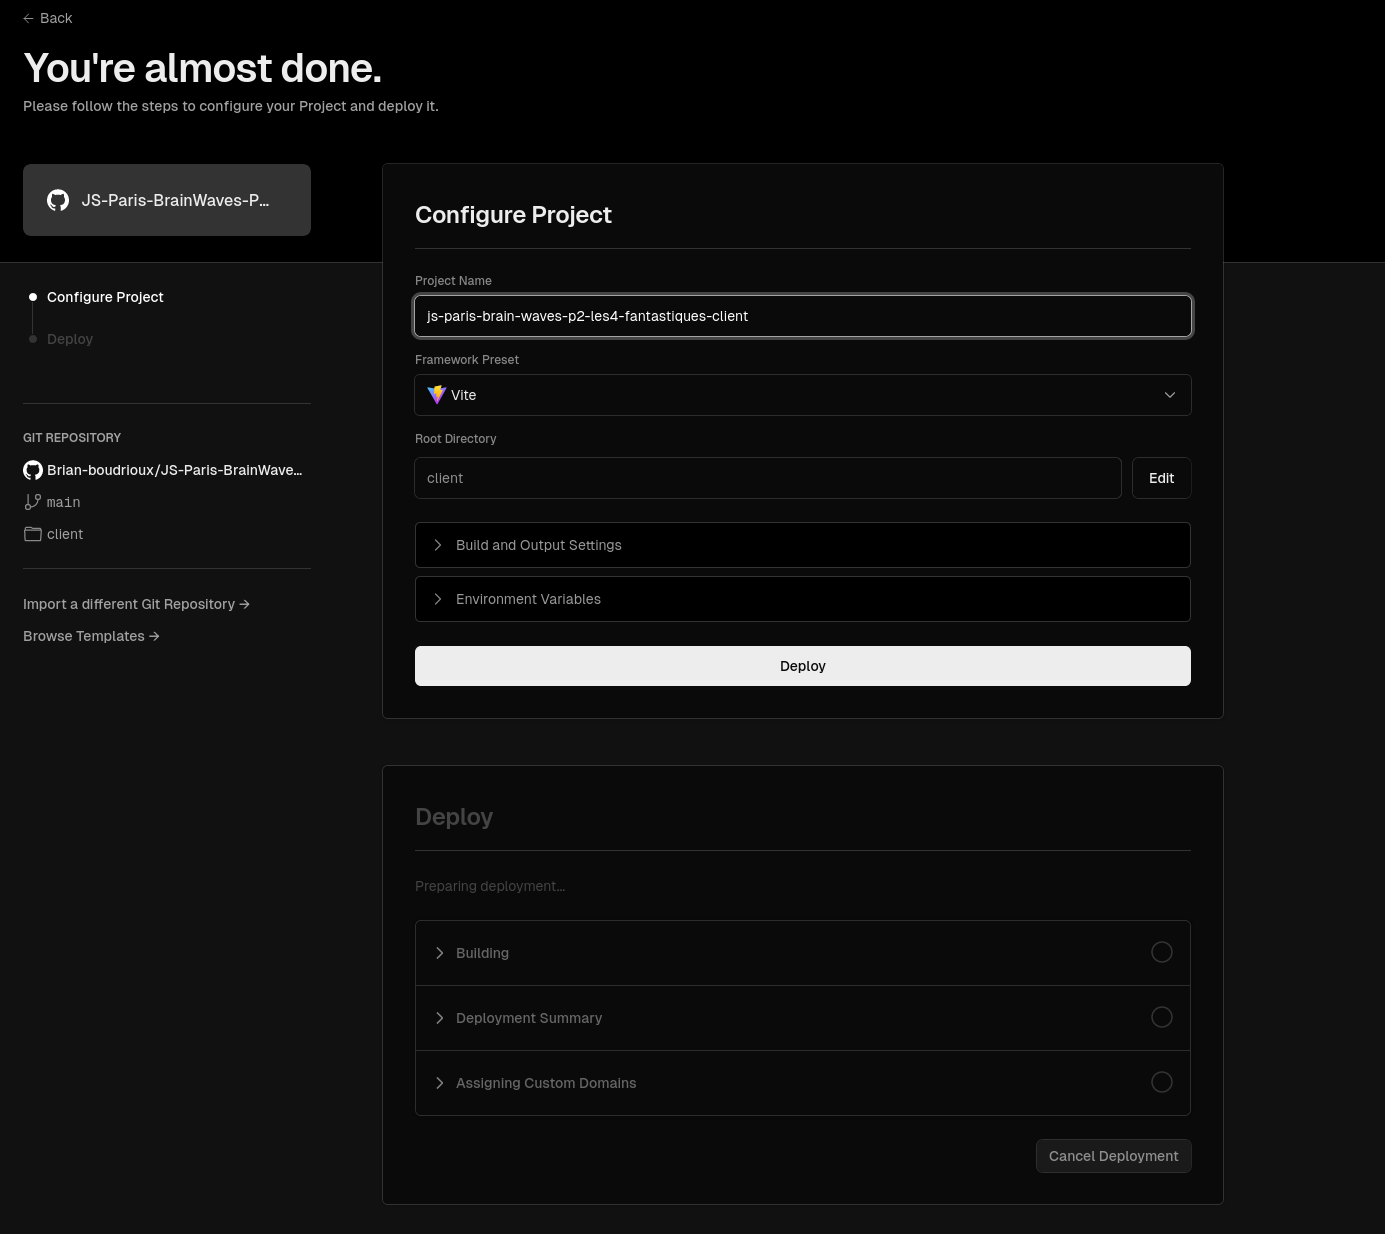
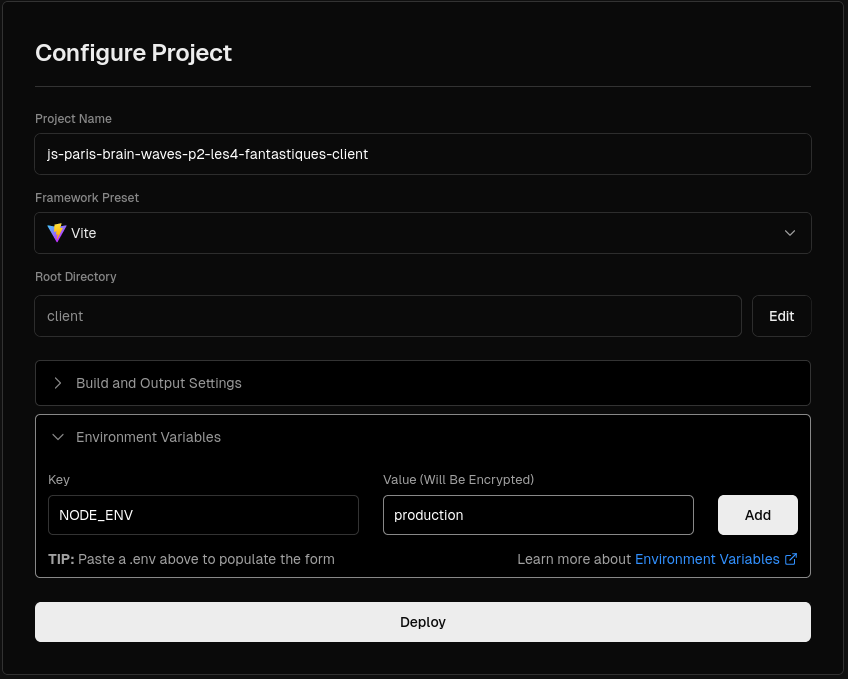
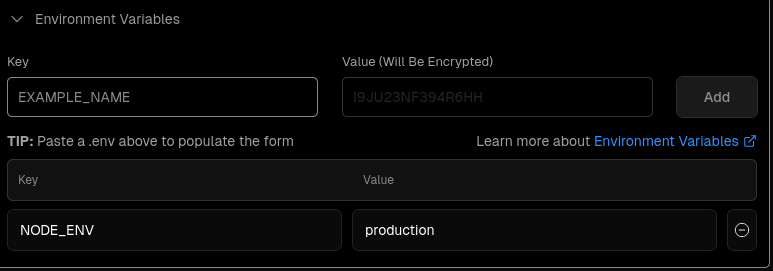
To set environment variables, expand the Environment Variables section and either paste or copy them in. Set the NODE_ENV variable to the value production and click to Add to see the new env variable added below
Deploy your project
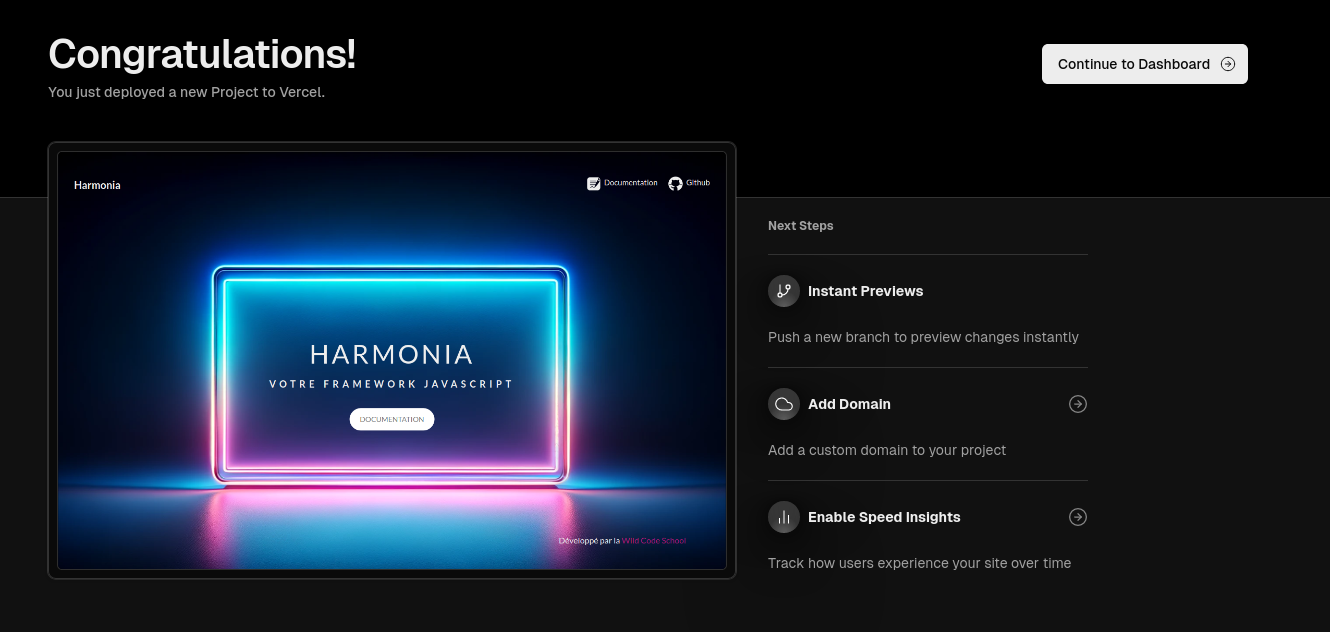
Press the Deploy button. Vercel will create the Project and deploy it based on the chosen configurations.
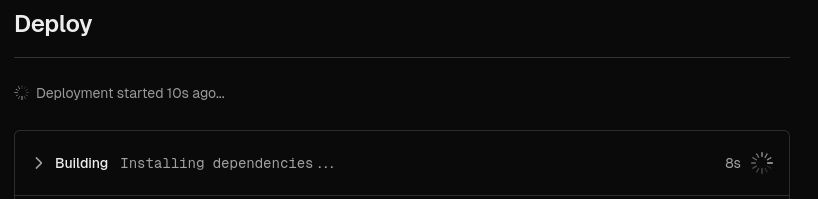
Enjoy the confetti!
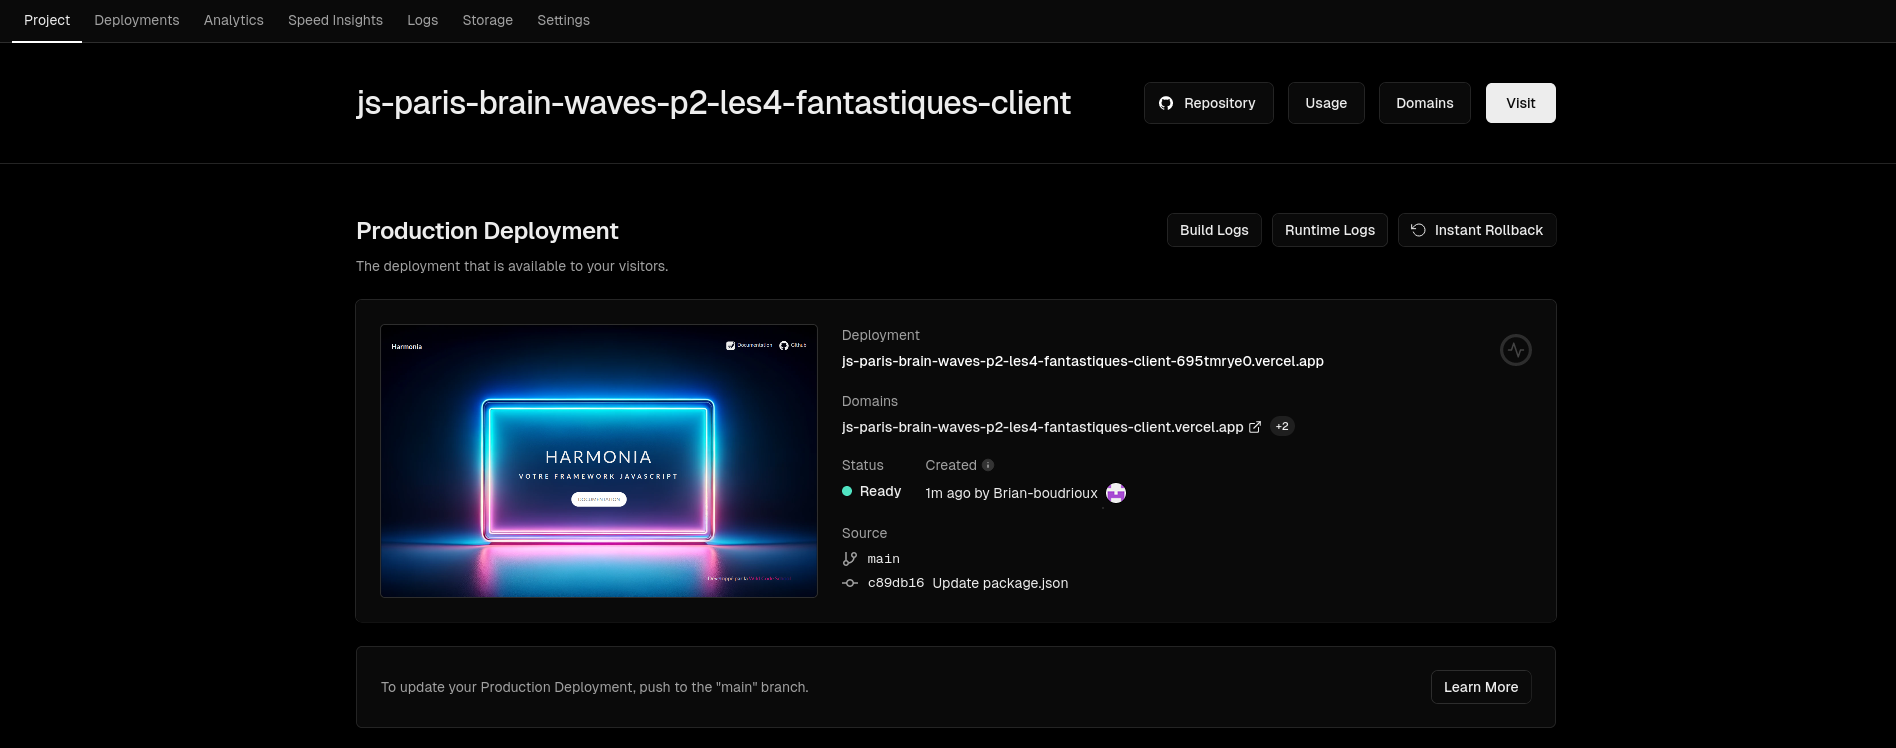
To view your deployment, select the Project in the dashboard and then select the Domain. This page is now visible to anyone who has the URL.
Conclusion
Setting up and maintaining your own infrastructure can be tedious, and requires selecting and configuring the appropriate server hardware and operating system, setting up and configuring network infrastructure, configuring and maintaining the necessary software stack, and more.
Ensuring that your infrastructure is secure and scalable requires continuous monitoring, maintenance, and updating. This includes implementing security protocols and solutions to protect against threats and vulnerabilities, as well as ensuring that your infrastructure can handle a spike in traffic efficiently. All these tasks are time-consuming, complex, and require a dedicated team of experienced engineers to handle at scale.